One of the side effects of being one of the longest established underfloor heating specialists is that, here at Continal Underfloor, we get one or two phone calls a month from people who bought some bits from an online discounter, or a salesman, promising them the cheapest prices.
They’ve then fitted the so called “system”, but without any guidance or knowledgeable technical support; so when something goes wrong, they end up with a problem. Or, and this saddens us, the end customer calls us some months or years later because the original supplier has gone bust or has disappeared, and they have a wet patch on their floor or ceiling.
We try to help where we can, but ultimately those few pounds saved by buying cheap have caused (in some cases) thousands of pounds of damage.
Nothing counts as much as experience and quality, and at Continal Underfloor this comes as standard. It always helps to pass on some top tips, so here are 5 ways to prevent system damage and a few suggestions as to how to fix a problem.

1) Pressure test underfloor heating system
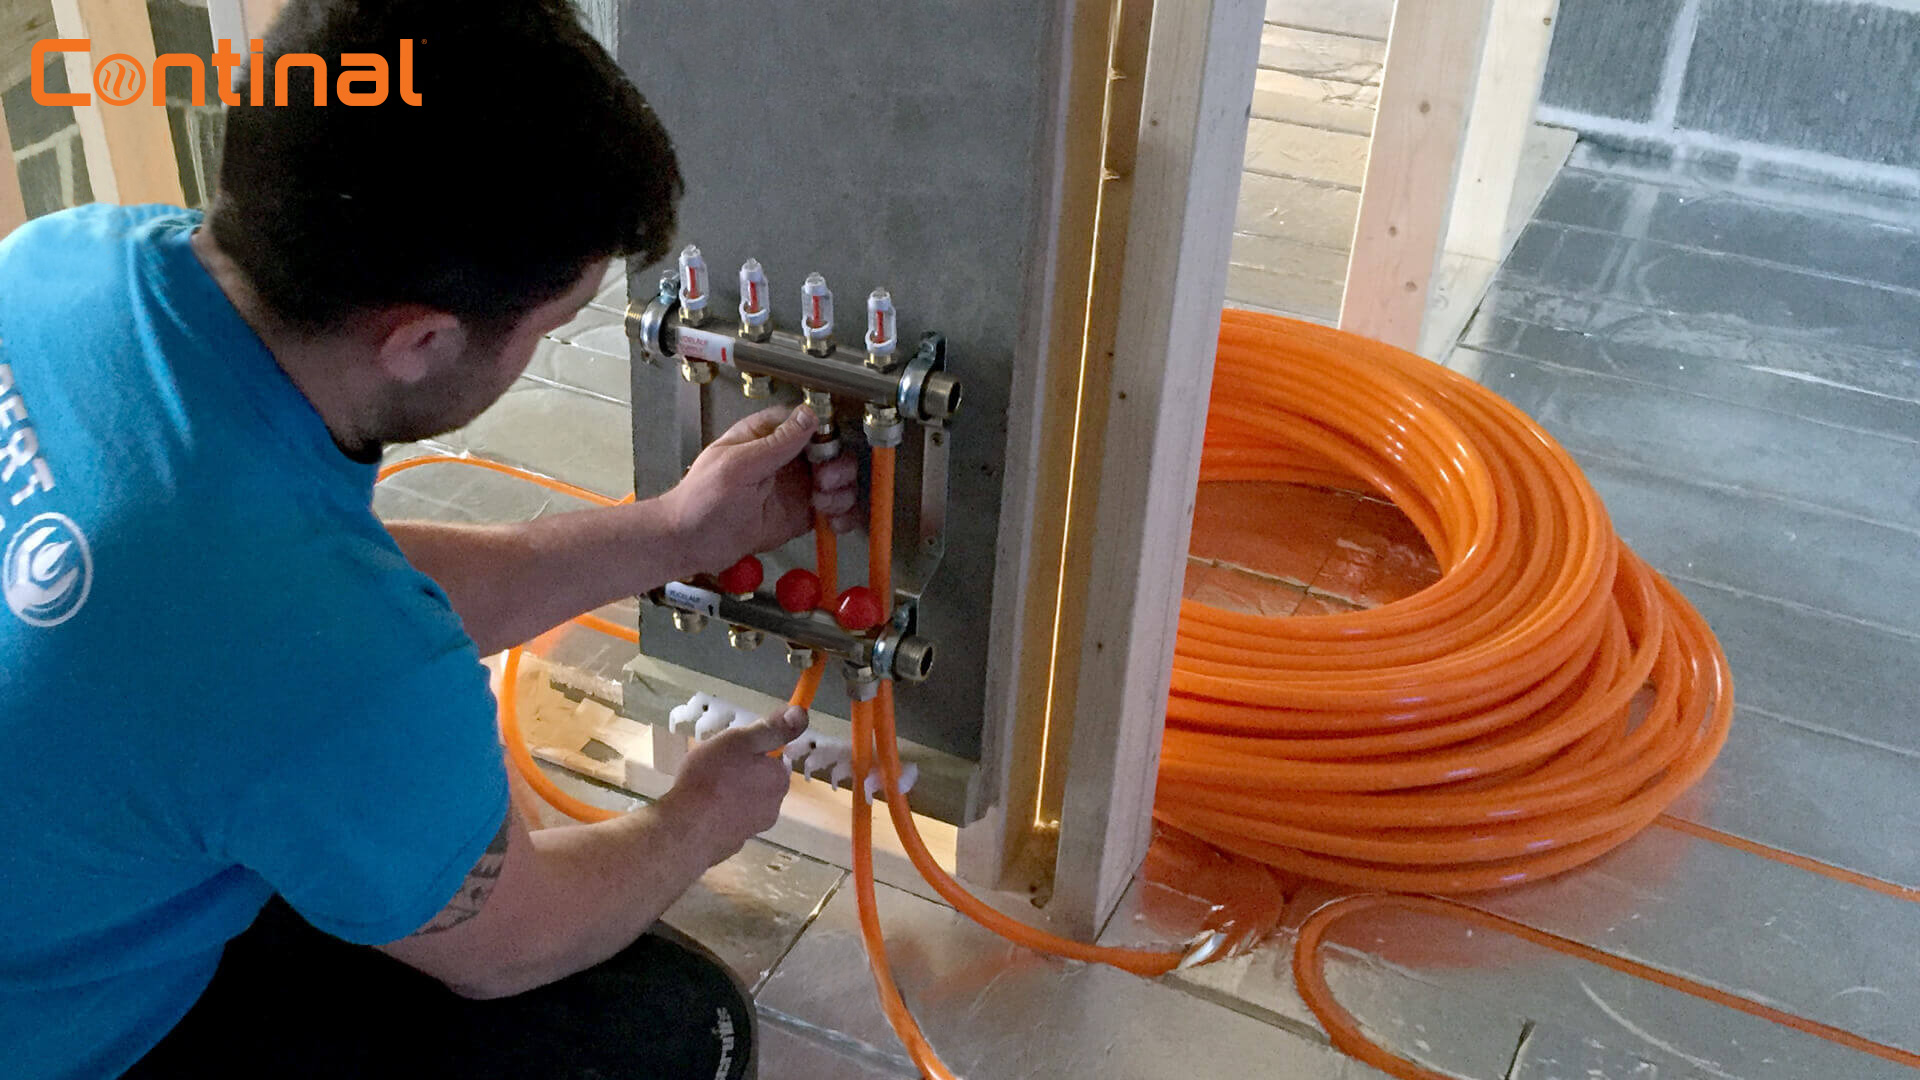
When the pipe has been laid and connected to the manifold, and while you can still get to the pipe before screed or floor finishes are applied or the manifold is boxed in, pressure test the system with water. Your supplier should know the standard for this, and if they don’t then you really shouldn’t be buying from them. Air testing is faster and simpler, but it’s not as robust.
And remember to purge the pipes of water after the test to avoid the chance of it freezing.
2) Protect the pipes
After the pipes have been laid and tested, try to get the screed or floor covering installed quickly - nothing damages pipework more easily that lots of trades walking over the pipes, running barrows over them, or dropping blocks and timber.
3) Prevent freezing
If the site is exposed, or freezing temperatures are forecast, make sure the pipework is purged of water. Freeze damage is hard to visually detect and weakens the pipe structure, with leaks often forming several years later.
4) Use edge insulation
In a screed application you MUST use edge insulation and put expansion joints into large or long areas of heated screed. Just the other day a plumber was telling our MD how a cheap supplier had told him not to bother, that it will be ok. It isn’t. No edge insulation and failing to fit expansion joints is a recipe for long term structural damage.
5) Let other trades know underfloor pipe work is installed
This seems obvious, but once the pipes are screeded or covered by a wood deck, a tradesman coming on site for the first time, perhaps to fit kitchen units or put up walls, will not know there are pipes in the floor. A nail or screw in the wrong place will puncture a pipe, but may not be obvious until several years later because it may plug the puncture and then slowly corrode
Fixing damaged underfloor heating pipe
But what if the worst happens and there is a leak?
The first step is to identify that it is a UFH pipe by pressure testing each zone separately. Over the years we have dealt with a number of cases where a homeowner is convinced it is the UFH but then tests show it is a hot or cold service pipe that is the cause, usually a push fit type joint.
Once you know it is the UFH and where the leak is you’ll need to get to the pipe. Find where the damage is, and if just a hole, cut the pipe, de-oval, and then fit a repair coupler. Remember to use some self-amalgamating rubber tape around these couplers in order to stop them from reacting with the surrounding screed.
If you find yourself in a position where you are in need of replacement underfloor components, or seek the assistance of our underfloor heating designers; don’t hesitate to get in touch. You can contact us on 01566 772 322, where we are always keen to help.
Alternatively, you can also find the Continal Underfloor Heating team over on Facebook, where you can keep up-to-date with all of the our goings on!
